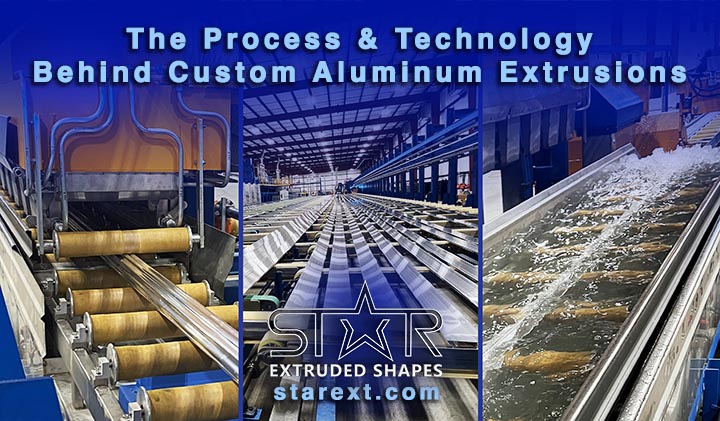
The custom aluminum extrusion process is a versatile and widely used manufacturing method that produces complex profiles for various industries. Below is an overview of the essential steps, tools, and technology involved in this process.
Step 1: Select Aluminum Alloy
Alloy selection is the fundamental first step in creating and manufacturing precise custom aluminum extrusion profiles. Choosing the right alloy dictates the profile’s strength, corrosion resistance, and other characteristics. This selection creates the basis for a successful extrusion process, guaranteeing the final product meets design requirements and performance expectations.
Step 2: Custom Aluminum Extrusion Design and Die Development
The extrusion process begins with designing the desired profile shape and dimensions using specialized design software such as AutoCAD or SolidWorks. These digital models allow for:
- Faster and more precise quoting
- Streamlined prototyping
- Reduced time to market
Once the design is finalized, the next step is die development. The die is a critical tool that shapes the aluminum as it is forced through under high pressure. Precision in die creation is essential to ensure the final product meets all dimensional and performance criteria.
Step 3: Heating the Billet
Once the aluminum alloy is selected and the die is prepared, the next step is heating the billet — a cylindrical piece of aluminum. The billet is placed into a furnace and heated to an optimal temperature, making it malleable and ready for extrusion. Heating makes the aluminum malleable and prepared for extrusion.

Step 4: Extrusion Tooling Process
After reaching the ideal temperature, the heated billet is then forced through the die with a hydraulic press. The pressure pushes the aluminum through the shape of the die’s opening. As the aluminum passes through, it creates the desired aluminum profile.
Step 5: Cooling and Cutting
Following the custom aluminum extrusion shaping, the new profile goes through the quenching portion. Which can be done by air, mist, or a full water box. This rapidly cools the extrusion to maintain its structural integrity. Once fully cooled, the long continuous extruded shape is cut into preferred lengths, with a saw or cutting tool.
Step 6: Straightening and Finishing
To ensure dimensional accuracy, extruded profiles often require straightening to correct any distortions that may occur during the extrusion process. Furthermore when a custom aluminum extrusion requires it, a CNC machine, (Computer Numerical Control) is utilized to add secondary features to a profile and prepare it for end use or assembly.
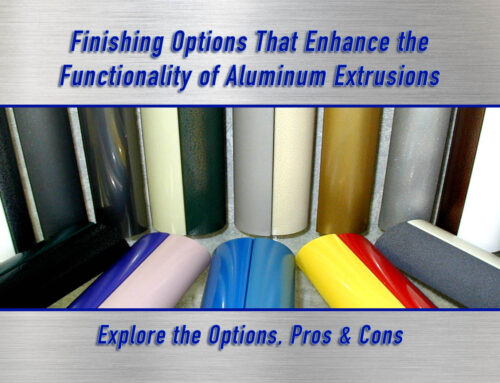
This step involves finishing the extruded parts according to the application’s needs.
- Raw finish – retaining the natural aluminum appearance
- Powder coating – adding a durable, colored surface
- Anodizing – enhancing corrosion resistance and aesthetic appeal

Step 7: Quality Control
The final step in the custom aluminum extrusion process is rigorous quality control. Each extrusion undergoes thorough inspection to ensure it meets the required standards for:
- Dimensional accuracy – verifying that measurements align with specifications
- Surface finish – ensuring smoothness and consistency
- Overall condition – checking for defects or imperfections
Quality control ensures that every profile delivered meets the highest performance and aesthetic expectations.
Step 8: Complete Assembly, Packaging, and Shipping
The fully finished custom aluminum extrusions are then packaged to the customers’ needs and specifications to ensure the components arrive securely and to prevent damage during shipping.
Star’s Commitment to Excellence in Custom Aluminum Extrusions
At Star, precision, technology, and expertise come together to create exceptional custom aluminum extrusion profiles. By following these steps, Star guarantees the production of high-quality profiles that benefit numerous industries.
Their experience and turn-key service offerings enables them to provide a manufacturing experience — setting them apart in the aluminum extrusion market.
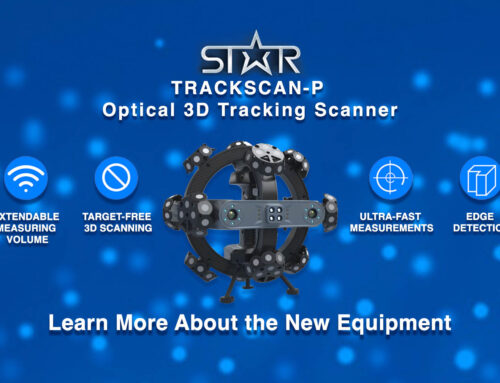
With decades of execution under their belts, they continue to add to their technology and tools to provide superior production. One of their most recent additions being the TrackScan-P 3D tracking scanner.

Interested In Star’s State-of-the-art Custom Aluminum Extrusion?
If you want to explore how Star can help you execute your custom aluminum extrusion goals, Give us a call at (330) 533-9863, send us an email at [email protected], submit an inquiry on our site, or get a quote. Contact our team today!
Follow Star Extruded Shapes on Socials!
Facebook: https://www.facebook.com/profile.php?id=100063753529991
LinkedIn: https://www.linkedin.com/company/star-extruded-shapes
YouTube: https://www.youtube.com/channel/UCep7i_8CZmfokXdXkGEhRJw